A Step-by-Step Guide to Creating Stunning Architectural Visualisations
- Apr 21, 2023
- 2 min read
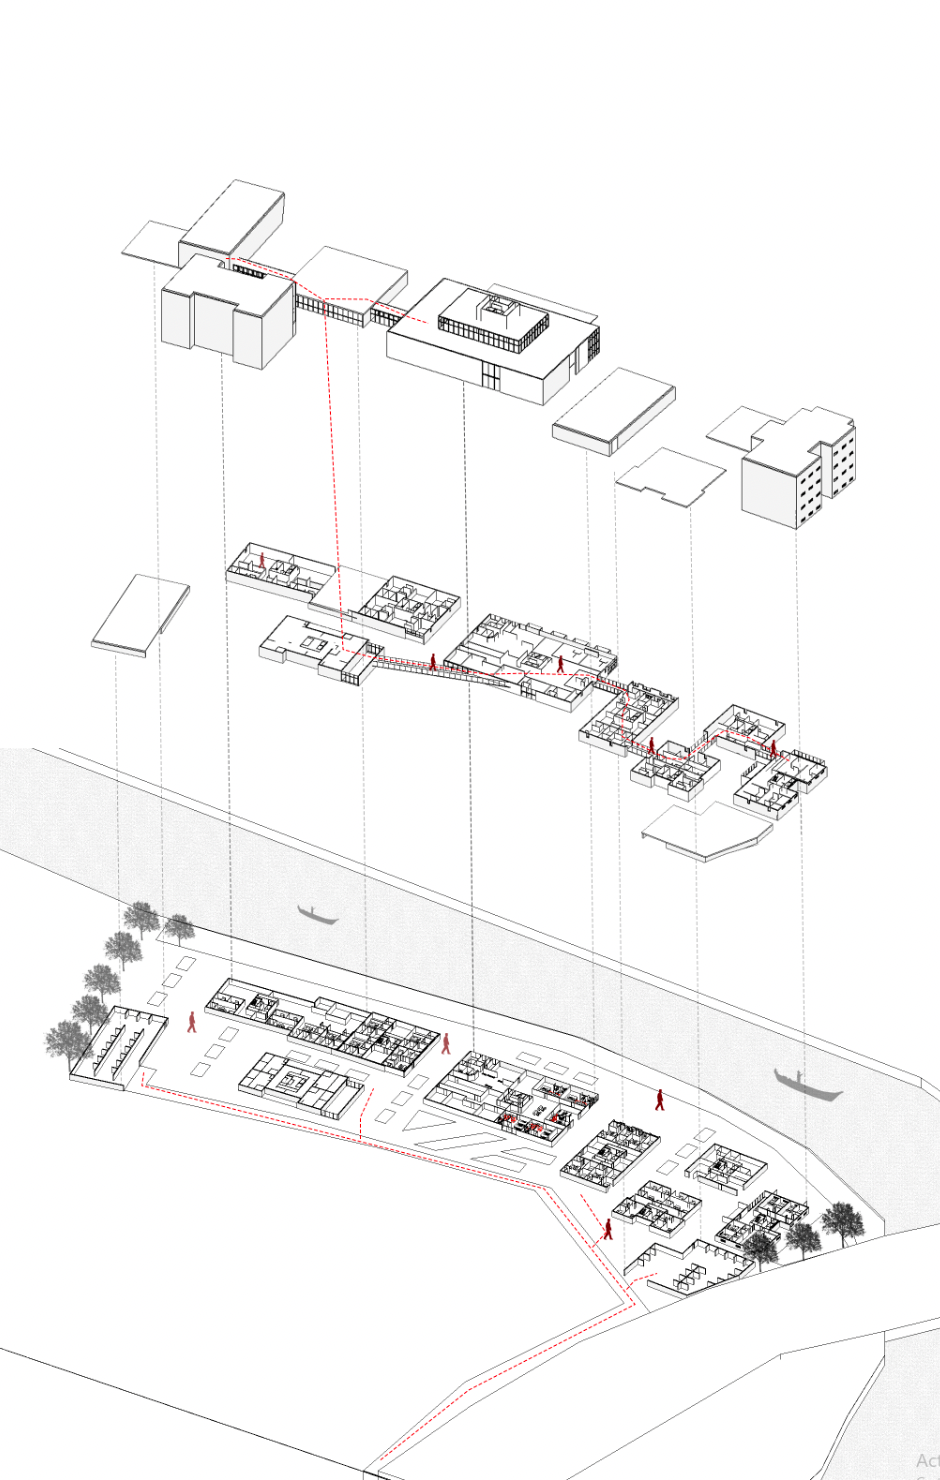
Axonometric drawings are a powerful tool in the field of architecture that can bring depth and dimension to design presentations.
Whether you're a student, a professional architect, or just an architectural enthusiast, mastering the art of axonometric drawings can enhance your visualizations and unlock new possibilities in design.
In this blog post, we will provide a comprehensive step-by-step guide on how to create stunning axonometric drawings that are accurate, precise, and visually captivating.
Step 1: Understanding Axonometric Projection
Define axonometric projection and its significance in architectural representation
Explore different types of axonometric projection, such as isometric, dimetric, and trimetric
Understand the principles of axonometric projection, including foreshortening, scaling, and angles
Study real-life examples of axonometric drawings to grasp the concepts better
Step 2: Setting Up Your Drawing
Gather the necessary tools and materials for axonometric drawing, including pencils, rulers, erasers, and paper
Determine the size and scale of your drawing and establish the horizon line
Create the axes and determine the angles based on the type of axonometric projection you've chosen
Label and mark the axes to serve as references throughout the drawing process
Step 3: Constructing the Basic Forms
Start by drawing the basic forms of your subject in axonometric projection, using the axes as guides
Use simple geometric shapes to build up the volumes, such as cubes, prisms, and cylinders
Pay attention to proportion, perspective, and alignment to ensure accuracy in the drawing
Add details gradually, focusing on one element at a time, and use reference images if needed
Step 4: Rendering and Texturing
Experiment with different rendering techniques to bring life to your axonometric drawing, such as hatching, cross-hatching, and stippling
Apply appropriate shading and shadows to create depth and dimension in the drawing
Add textures and patterns to the surfaces of the forms to enhance realism and visual interest
Use different pencils or markers to achieve variations in tone, texture, and contrast
Step 5: Final Touches and Presentation
Clean up your drawing by erasing unnecessary lines, smudges, or mistakes
Add additional details, highlights, and accents to polish the drawing and make it visually appealing
Consider adding a background or context to the drawing to provide a sense of place and scale
Prepare your axonometric drawing for presentation, such as framing, scanning, or digital editing, depending on your intended use
Conclusion
Creating stunning axonometric drawings requires practice, patience, and attention to detail, but the results can be truly remarkable. By following this step-by-step guide, you can improve your skills in axonometric projection and create architectural visualizations that are visually captivating and communicate your design ideas effectively. Whether you're a student, a professional, or just an enthusiast, mastering the art of axonometric drawings can elevate your architectural presentations to new heights. So grab your pencils, rulers, and paper, and start creating stunning axonometric drawings today!


Comments