Top 5 Tips on how to use Photoshop in Architecture?
- Dec 16, 2022
- 1 min read
Photoshop is a powerful image editing software that can be used for a wide range of purposes, including architecture. Here are some tips on how to use Photoshop for architecture:

TIPP #1 – Import your images: To start, you will need to import the images you want to work on into Photoshop. You can do this by going to File > Open or by dragging and dropping the images onto the Photoshop window.
TIPP #2 – Adjust the perspective: If the perspective of your image is not quite right, you can use the Perspective tool to adjust it. To do this, go to Edit > Transform > Perspective or press Ctrl+T (Windows) or Command+T (Mac).
TIPP #3 – Enhance the image: You can use various tools and techniques in Photoshop to enhance the image, such as adjusting the brightness and contrast, removing blemishes and distractions, and adding color adjustments.
TIPP #4 – Add text and graphics: Photoshop allows you to add text and graphics to your images. To do this, you can use the Type tool to add text, and the Shape and Brush tools to create custom graphics.

TIPP #5 – Save and export: When you are finished editing your image, you can save it by going to File > Save or Save As. You can also export the image for use on the web or for printing by going to File > Export.
Example:
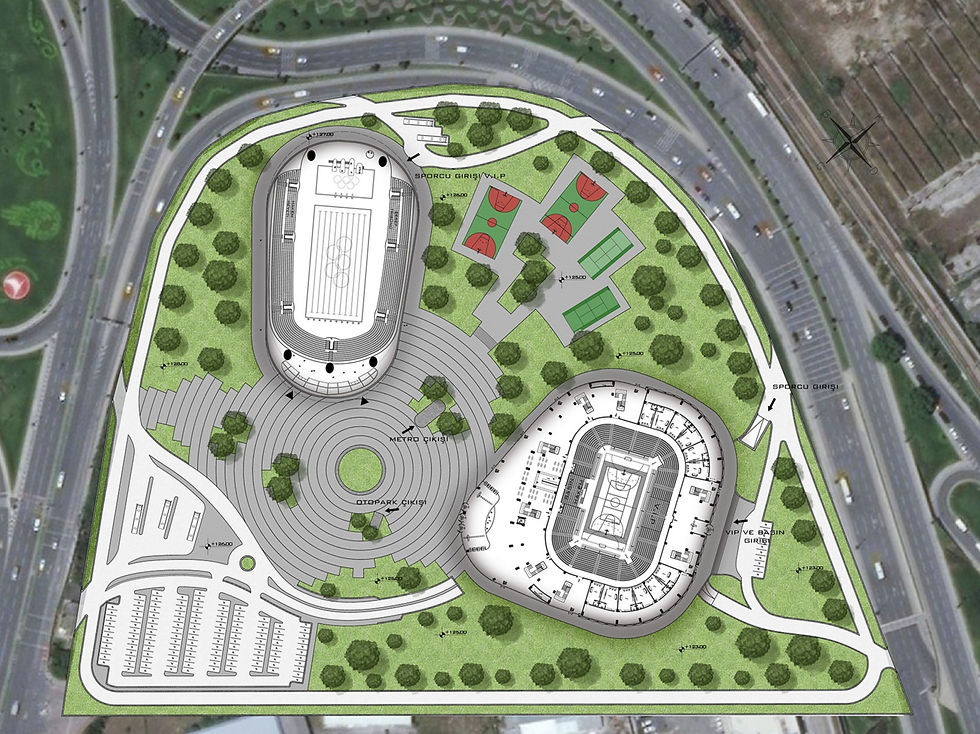
These are just a few basic tips for using Photoshop for architecture. With practice and exploration, you will discover many more tools and techniques that can help you create professional-quality architectural images.


Comments